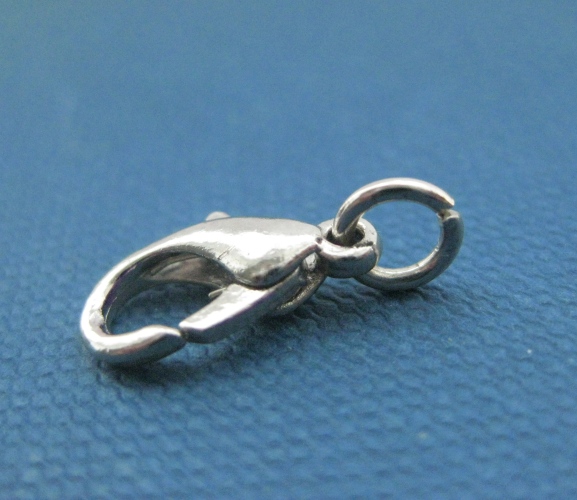
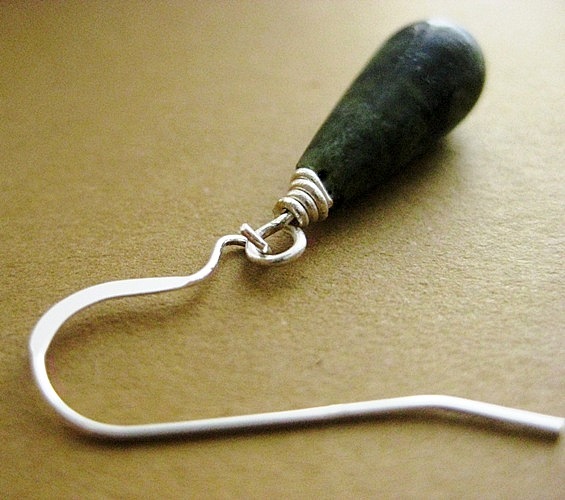
Welcome to part 2 of the letter F in my ABC of Jewellery. The series is a not-so-comprehensive guide to jewellery, materials and techniques I use, inspirations and design. The letter F proved to cover quite a lot, so I divided it into two posts. Part 1 covered Fluorite, Feldspar, Fan necklaces and Fairies. Part 2 introduces you to the group of craft supplies called Findings. It so happens, I have a small bank of previous posts to help me here.
 |
| examples of jewellery findings |
Findings are those little components used in jewellery making to connect, secure, enhance or hang either the other components (beads/stones etc) or the entire piece. Examples include earring hooks, charms and clasps but they encompass a long list of other small supplies from headpins to crimps and are mostly made of metal. All good jewellery craft suppliers will sell a wide range and the larger online suppliers often have clear explanations for usage.

If you have some experience in wire work, you can make many findings yourself quite easily from craft wire. I took a findings master class at Dublin store, Beads & Bling a few years ago, but you can find tutorials online. I include links in this article to any relevant tutorials I have written to date myself.
If you have some experience in wire work, you can make many findings yourself quite easily from craft wire. I took a findings master class at Dublin store, Beads & Bling a few years ago, but you can find tutorials online. I include links in this article to any relevant tutorials I have written to date myself.


The simplest of findings is the humble jump ring. This is a basic ring of wire that can be open or soldered shut. If you are not a jewellery maker you can use an open jump ring for repairs such as re-attaching a clasp if you know the correct technique to ensure the ring closes tightly. I previously posted this insider tip How to open Jump rings & Loops You don't have to own a pliers to do this if you have a strong tweezers.
If you do have the basic tools, you can even make your own jump rings with a hard craft wire, such as gauge .80mm (20ga) or 1mm (18ga) and, when adept, in super hard 1.25mm (16ga). I don't do this often, as I prefer to wire wrap links instead but I do make the odd ring to use as a hanging bail for a pendant.


For full instructions on making jump rings please refer to my recent post How to Make Jump Rings...
If you do have the basic tools, you can even make your own jump rings with a hard craft wire, such as gauge .80mm (20ga) or 1mm (18ga) and, when adept, in super hard 1.25mm (16ga). I don't do this often, as I prefer to wire wrap links instead but I do make the odd ring to use as a hanging bail for a pendant.
For full instructions on making jump rings please refer to my recent post How to Make Jump Rings...
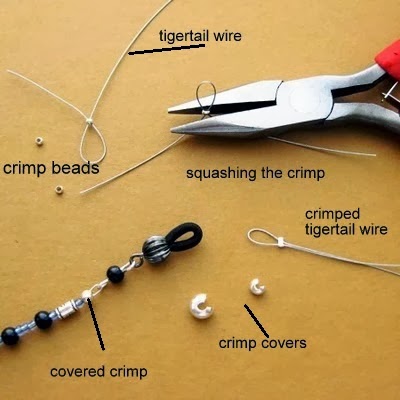
There are several ways to finish a beaded string but my method of choice is to use metal crimps and covers. I previously wrote a tutorial on How to Use Crimps which may be of use to beginner beaders or of interest to those who have only ever used knotting techniques.
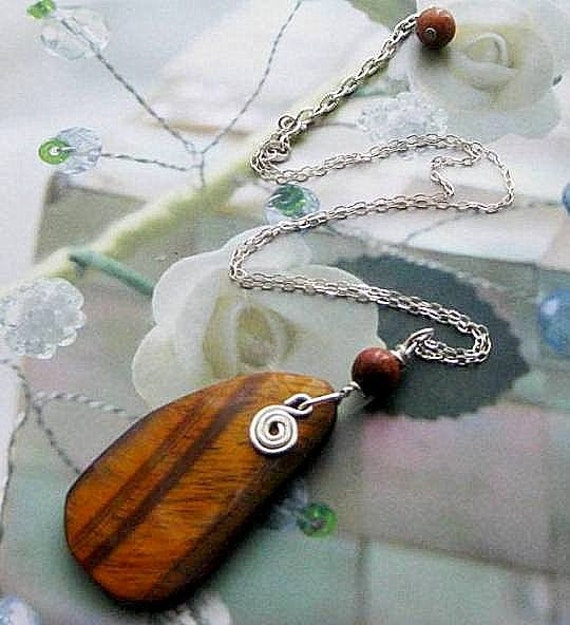 |
| tiger eye pendant with spiral charm detail |
Small metal charms can also be classified as findings. These are tiny pendant-like motifs that you can attach onto extender chains, charm bracelets, flat stones and to other findings for decorative purposes.


A typically Irish symbol that only requires the same basic pliers set and wire to make is the Celtic spiral. For instructions please refer to my previous post How to Make Spiral Charm.


It is preferable to hammer most of your handmade findings and charms to make them strong and rigid. Again, here's one I made earlier: How to Harden Charms and Findings with a Rubber Hammer. A chasing hammer (middle photo) can also add texture.


Other basic tools required if making your own findings are a set of metal files for softening sharp ends of wire and an agate burnisher for finishing the job by smoothing. A burnisher is also useful for polishing and for smoothing little nicks and bumps in metal.
F is also for Friday...so have a good one and a fun filled weekend!
***
CLICK HERE FOR THE ABC SERIES SO FAR
or by letter:
A B C (plus C for Crimping ) D E F